Airbrushing Tutorial
Hi all,
many of you ask yourselves- "How can I achieve smooth airbrushing like the gunpla i see online"
Your struggles will be over soon...
I will share tips and secrets for you to achieve smooth airbrushing on your model kits, just spread this page to others, sharing the same knowledge to them as I'm about to share with you...
Enjoy~
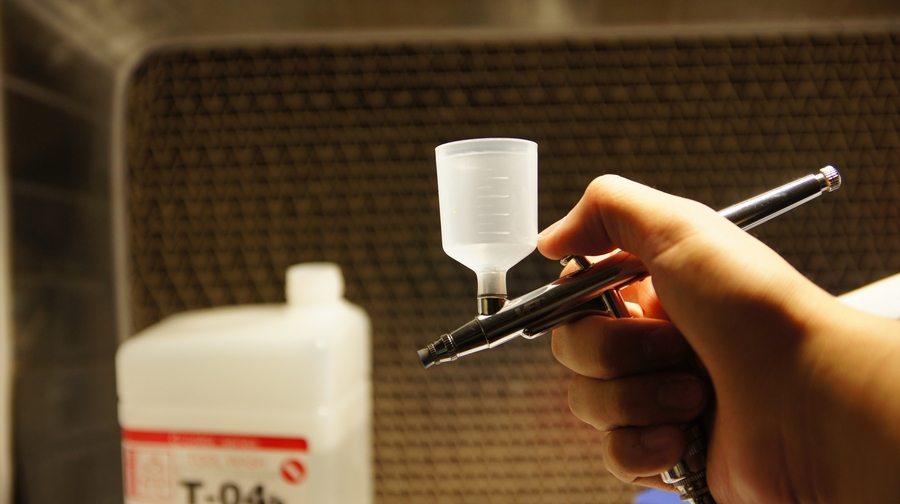
Knowing Your Double Action Airbrush
Before getting started, you should know your type of airbrush, the insides, the mechanics, etc
Using a double action airbrush will allow you to control air and paint separately.
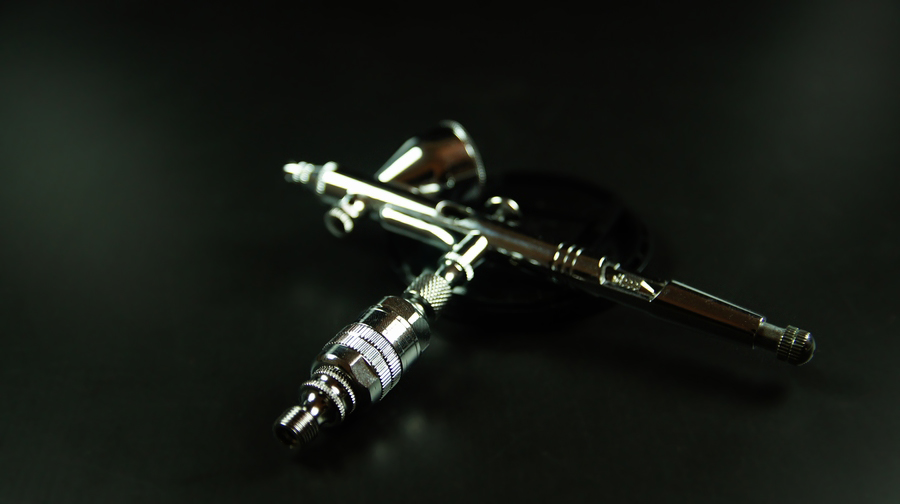
I've used these two airbrushes images for referencing the two most used common types of airbrushes.


Those two pictures are only the exterior of the airbrushes, the interior will seem more complicated.
But you'll need to know it-for taking apart the airbrush and cleaning it after use, please make yourself familar with it.
I will not name the parts... Refer to your own airbrush manual
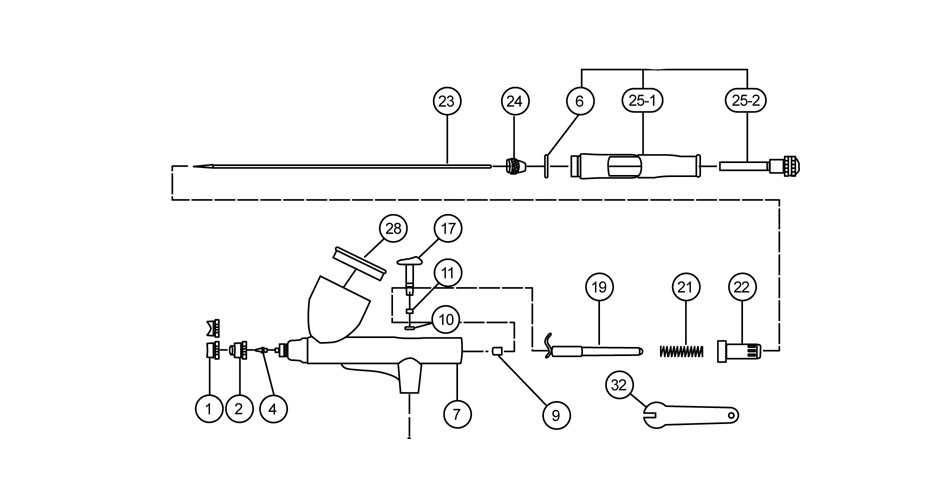
WARNING: THIS IS JUST A REFERENCE, PLEASE REFER TO YOUR OWN AIRBRUSH MANUAL
NOT ALL AIRBRUSH ARE BUILT LIKE THIS ONE ABOVE
ONCE YOU GET YOURSELF FAMILIAR WITH AN AIRBRUSH, WE SHOULD GET STARTED!!!
Getting Started
What you need-
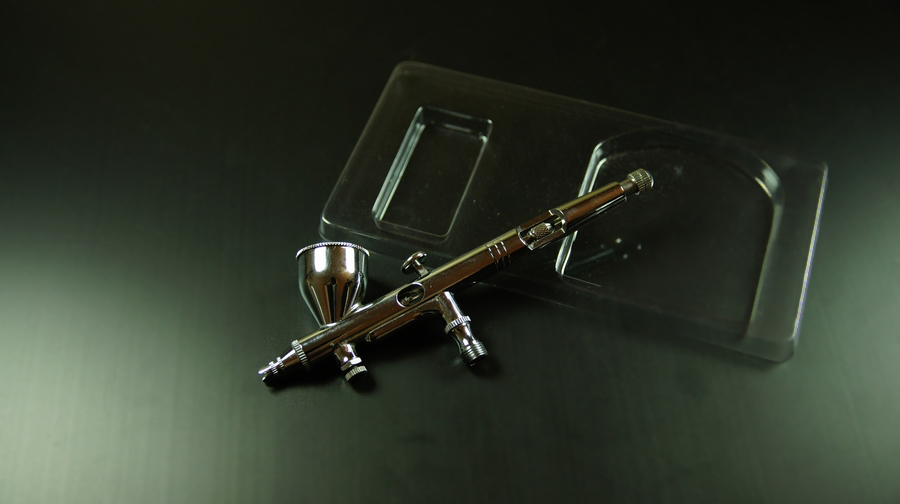
Double Action Airbrush
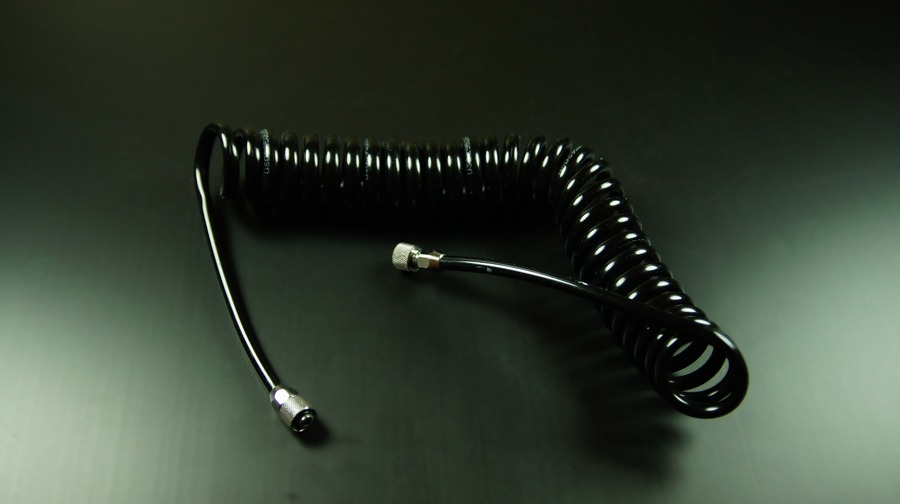
Air Hoses
Air Compressor-image coming soon
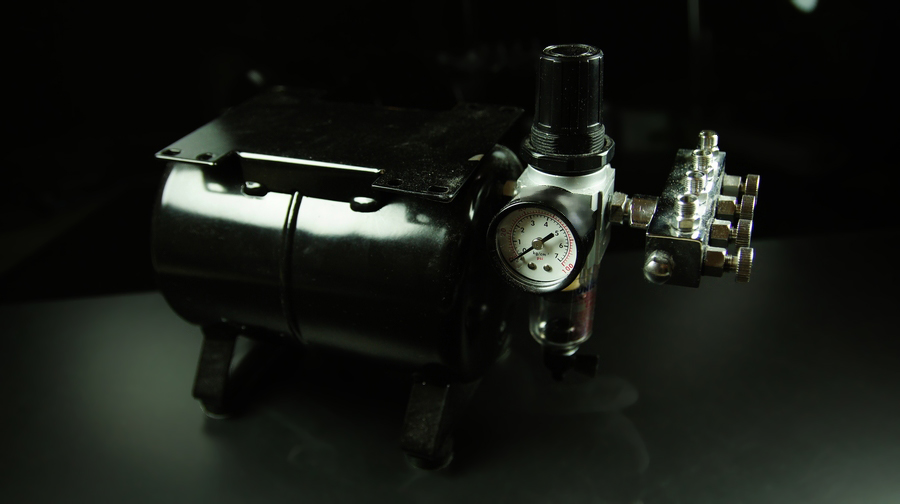
Air Tank
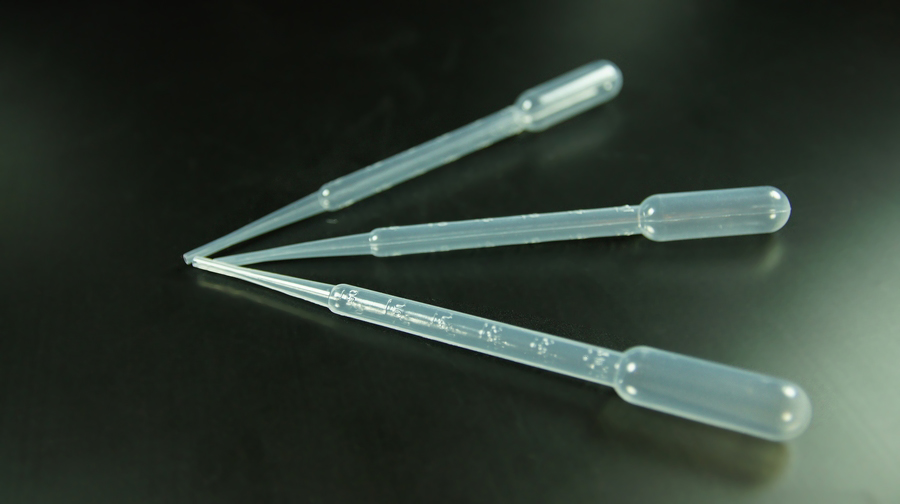
Pipettes/Droppers
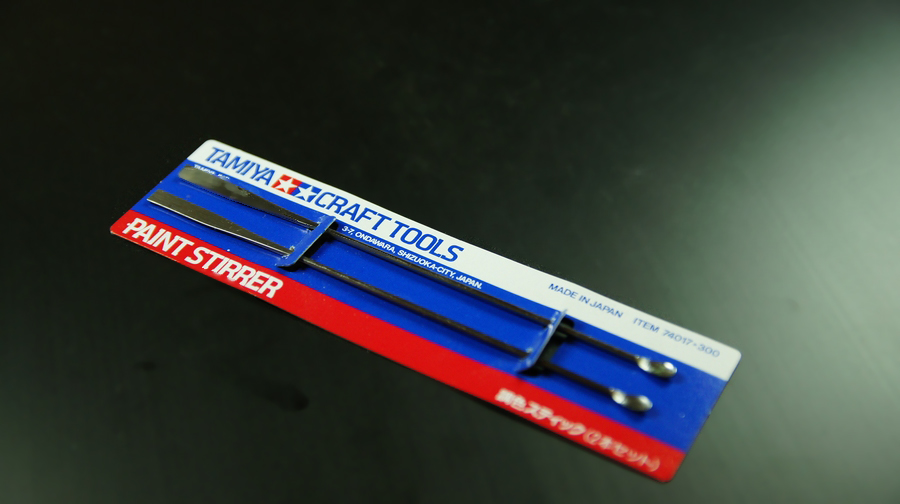
Paint Stirrer
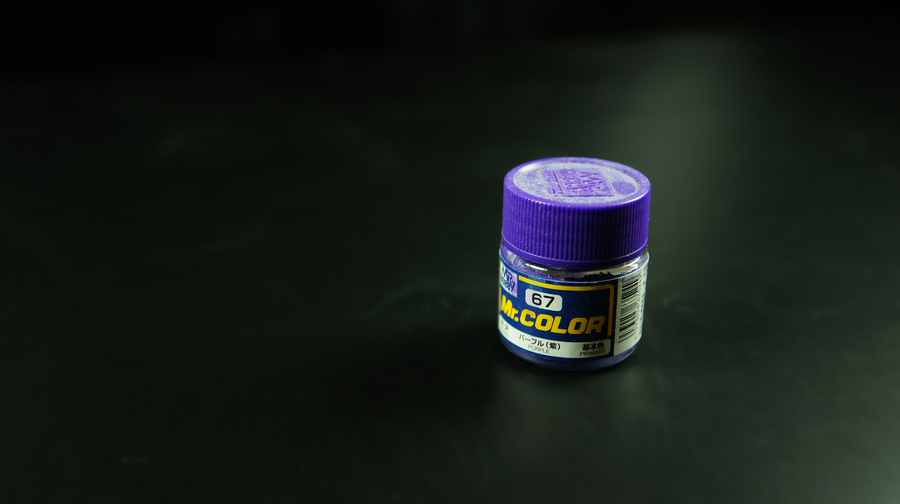
Paint (Lacquer preferred)
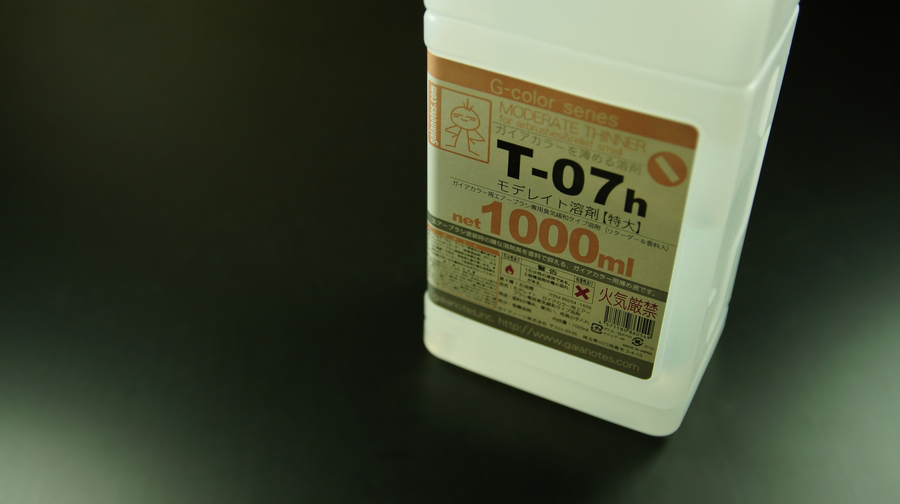
Thinner
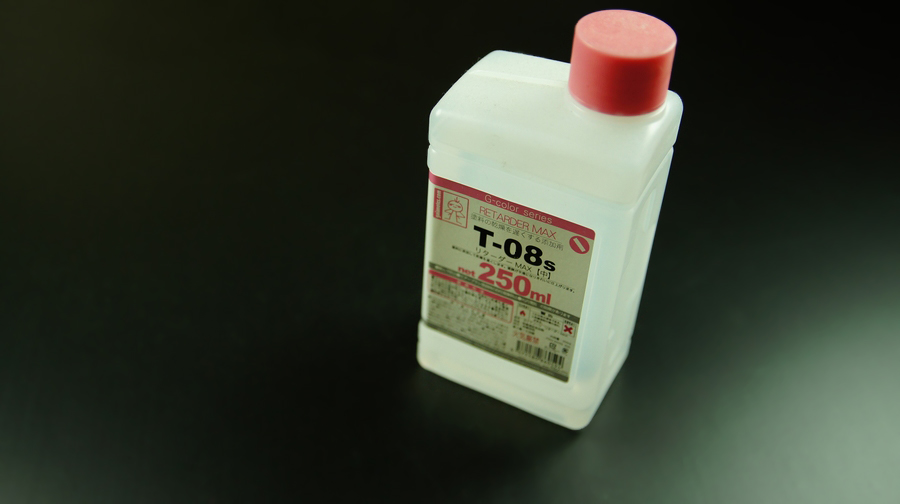
Retarder
Optional-
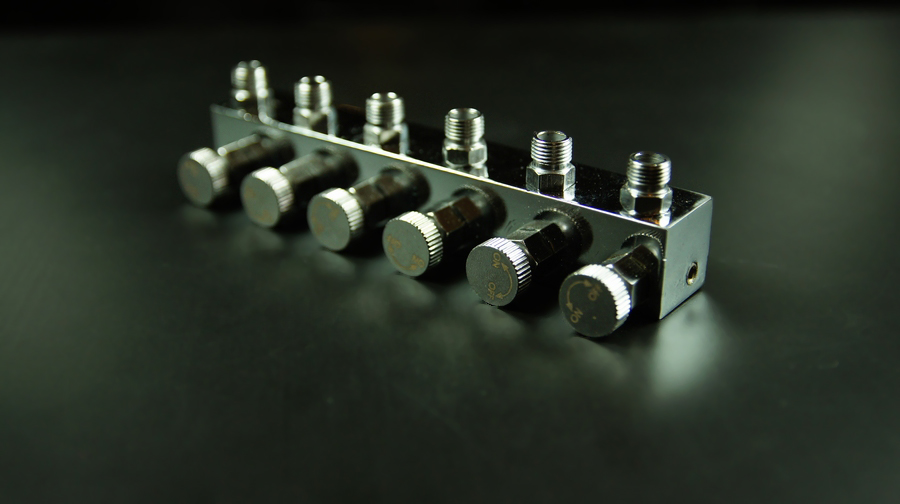
Multi-way Manifold(pic: 6-way)
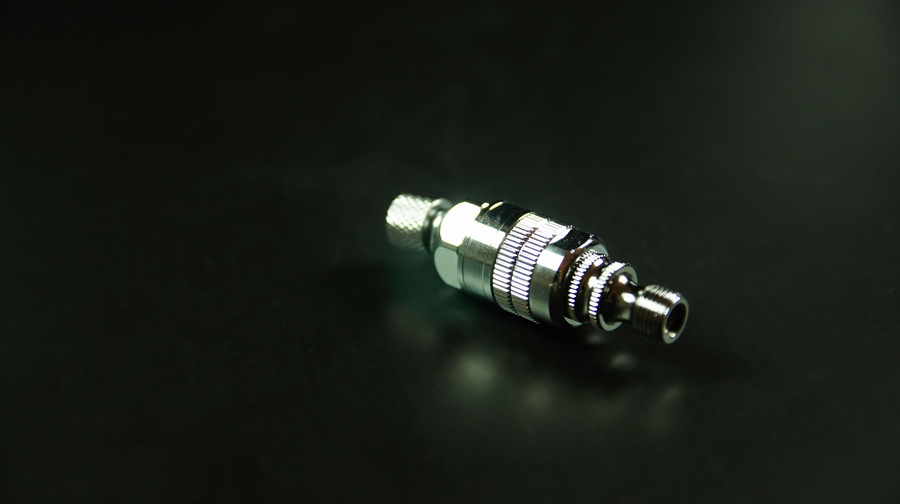
Dust/Moisture Hand Grip Filter
Setting up your Airbrush
Single Airbrush SETUP-
Attach air hose from air tank directly to airbrush like the following:
(PIC)
Multiple Airbrushes SETUP-
Attach "Multiway Manifold" to air tank, then attach air hoses on each required outlet linking to each airbrush like the following:
(PIC)
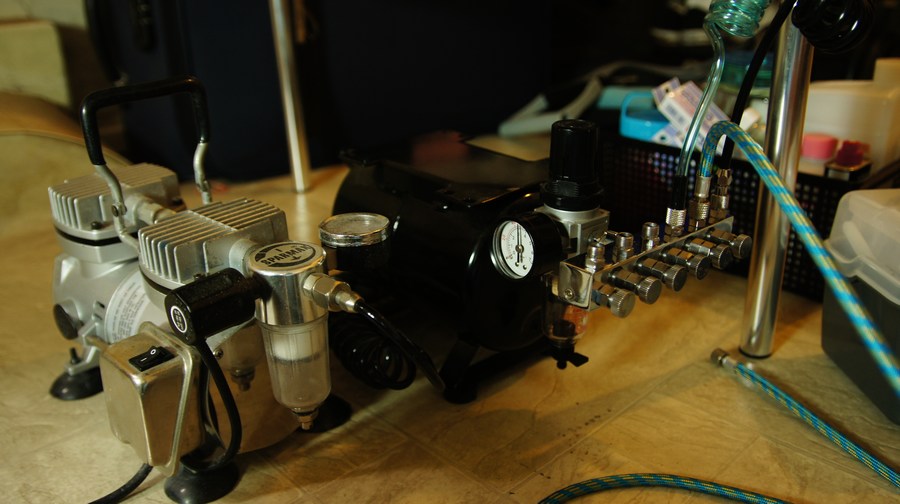
Setting up your Air Compressor & Air Tank
I know you're wondering- Why have an air tank? What's the use of it?
Here's to clarify things before setting up-
An air tank is used in order to prevent the splats/water bursts caused by the overheating from the air compressor after long periods of spraying. Hooking your air compressor to an air tank prevents/reduces this effect, it depends on your tank size; the bigger = no splats at all, med-small= reduced splats.
Here's how to Setup :)
Attach air hose from compressor to airtank's back outlet (PICS COMING SOON)
Attach/install moisture trap/regulator on air tank
Attach air hose from Air tank's moisture trap/regulator outlet to airbrush
Mixing 1:2 Paint Ratio for Airbrushing
Mixing ratio for PAINT in order to achieve smooth airbrushing

The mixing ratio that i use for paint/surfacer is 1:2
:: 1 : 2 ratio means 1 part - paint, 2 parts thinner (e.g.-10 ml of paint, then you will need add 20 ml of thinner)
::: Add 1-2ml of retarder on top of the 1:2 ratio mix to make paint smoother for airbrushing
:::: Because the paint is thinner than 1:1 ratio, a minimum of 3 layers or more of paint is sprayed on to your kit.
:::::: DON'T RUSH IT SPRAYING, TAKE IT SLOWLY; WITH CAUTION AND PATIENCE to avoid STUFF UPS.
Holding the Airbrush
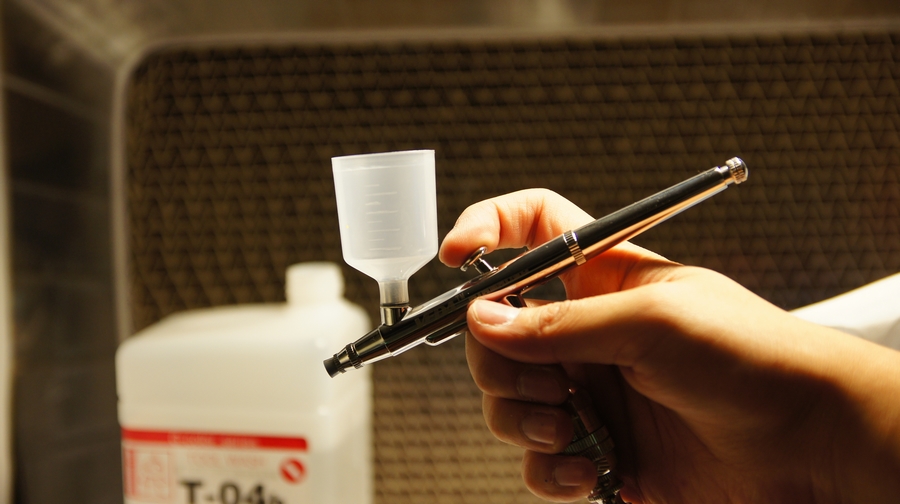
Common method-
Index finger on trigger; controls all movement of the trigger. This method is the ideal method, it allows precise control of the airbrush.
Alternate method-
Thumb on trigger; controls all movement of the trigger. This method is alternate method for holding the airbrush, it's recommended for spraying large surfaces of model kits, it isn't as precise as the index finger way. However, you won't get sore fingers as fast compared to the ideal way after spraying for a long time.
Tips & Secrets
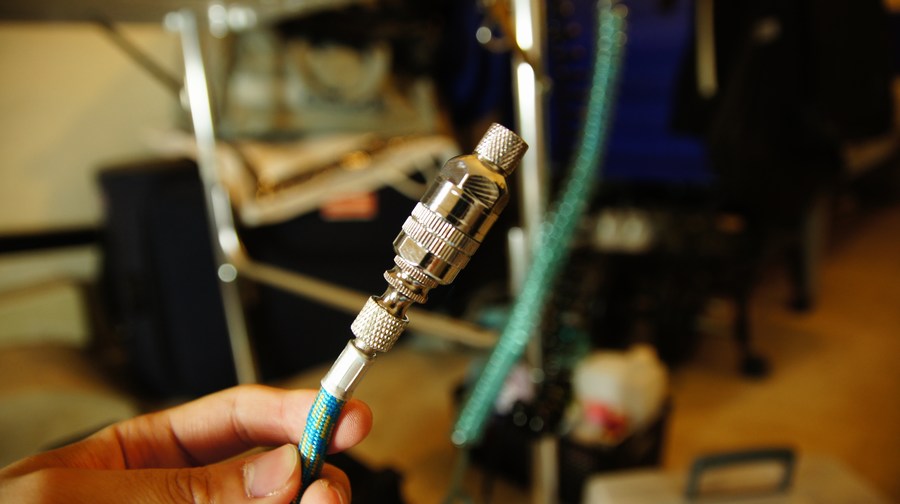
Adding a dust/moisture hand grip filter to your airbrush
adding a dust/moisture hand grip filter to your airbrush is highly recommended, because it prevents dust and water from spraying out through your airbrush, I attach a filter to every airbrush i use.
Screw the filter onto the airbrush
Attach the other end to the air hose; Air hose attach to air tank, air tank to air compressor.

Here's a video of Airbrushing in action
Cleaning The Airbrush After Use
This Video will teach you how to clean your airbrush, the most easiest, cleanest and thorough way
Troubleshooting Common Problems
Below is a list of problems I've faced during airbrushing throughout the years,
I've come up with solutions to save you from your troubles.
